Minecraft Skins: Sketch A Delightful Skin
Design tips & tricks. Minecraft Guides, Minecraft Resources, Minecraft Tips and Tricks.


There are numerous Minecraft skin plan sites, like Tynker, Novaskin, and The Skindex's supervisor. I will show you the fundamentals of planning skins utilizing my number one plan site, Excavators Need Cool Shoes. The nuts and bolts of skin configuration incorporate making skins, adding onto skins, or eliminating parts from skins.
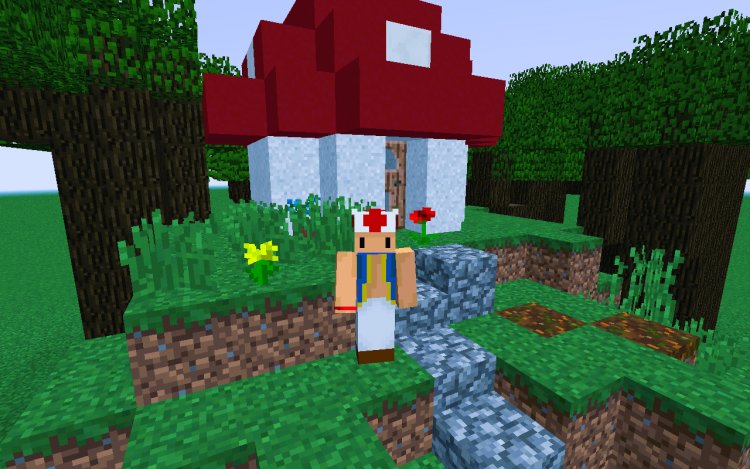
Minecraft skins are one of numerous ways you can communicate your imagination in-game. Whether you need to stir up your ongoing look, eliminate a component, or go past your fundamental Steve or Alex shell, this guide takes care of you!.
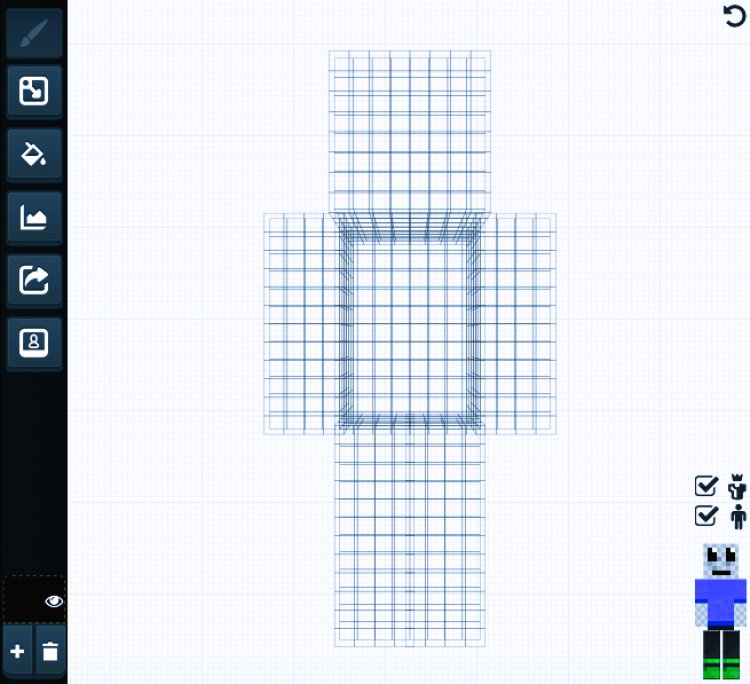
Studio Design and Device Capabilities
The picture underneath shows your toolbar (left), material (focus), and perceivability settings (base right) when you first open the site. The toolbar outfits you with the instruments to draw and utilize your skin and its highlights, start to finish:
°The paint device: utilized while adding variety to every lattice box.
°The square shape device: drag it across the rectangular region you need to variety.
°The fill device: will fill a body part with the chose variety.
°Filter: you can make the body straightforward (Cautioning: It will make your body layer vanish so keep the fix button helpful), flip the layers, and change tint, immersion, and brilliance.
°Export: you can impart to the Diggers Need Cool Shoes People group, change your Minecraft.net skin, or download to your PC.
°Import: you can recover a particular player's skin, make the whole skin a strong variety, import a skin from your PC, or create an irregular skin.
Altering Your Minecraft Skins
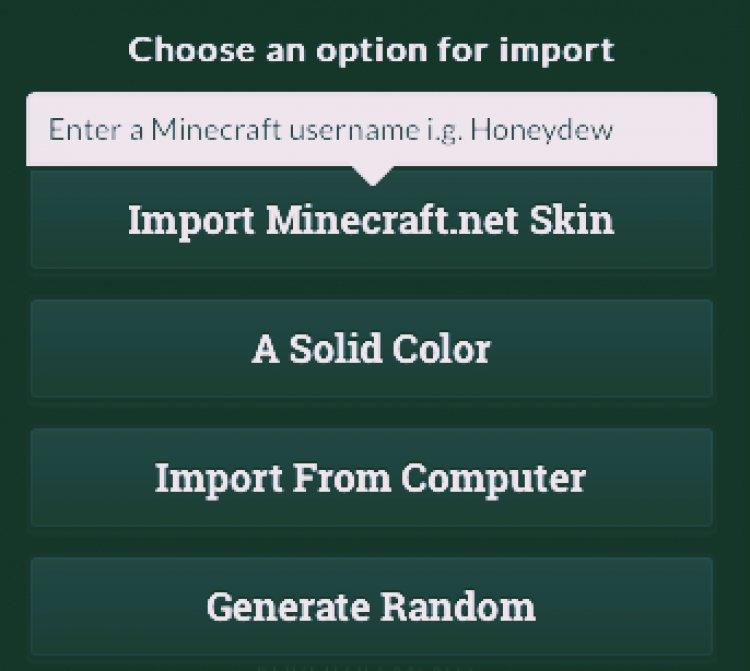
Utilize the import button to modify your ongoing skin. In the event that the skin being referred to is applied to your personality as of now, utilize the "Import Minecraft.net Skin" button and type in your username. Assuming that you have the skin document, press the "Import from PC" button and select it from your record wayfarer.
Making Minecraft Skins Without any preparation
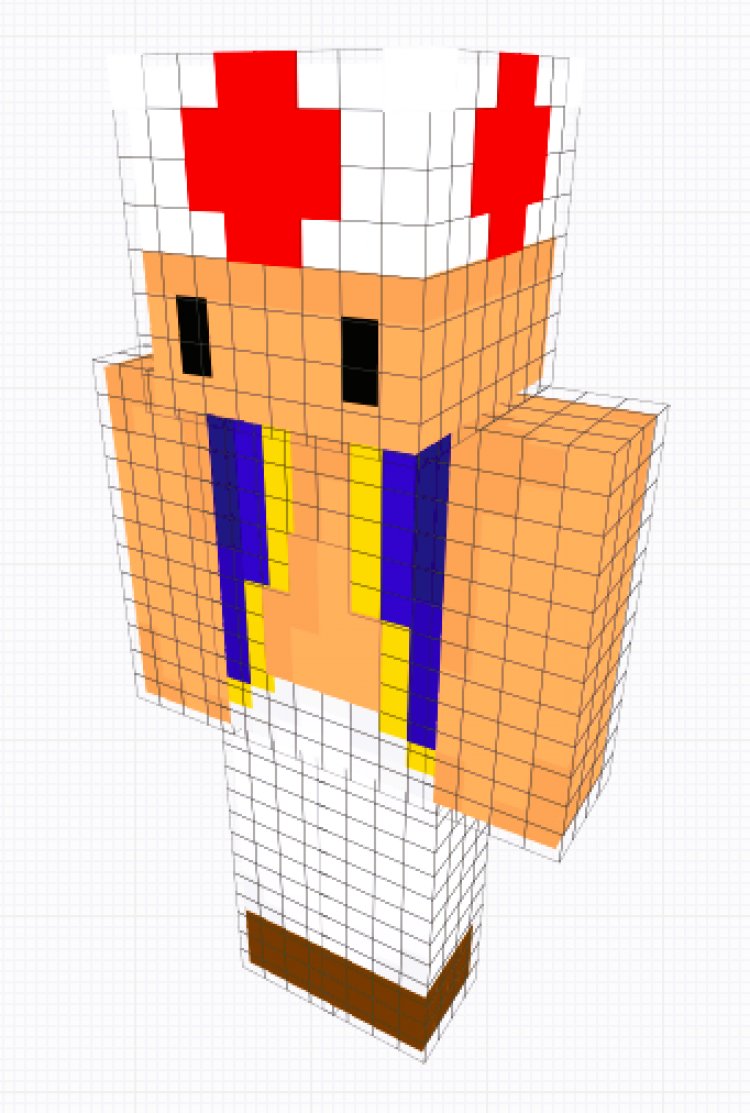
To show how this functions, I'll make my own. I love the Mario games, so I chose to make a skin based off the person Frog!
There are two fundamental layers of a Minecraft skin. The primary layer is the actual skin and the second is a reinforcement layer, which as a rule contains embellishments or portions of a skin that expel from the actual skin.
Skin layer
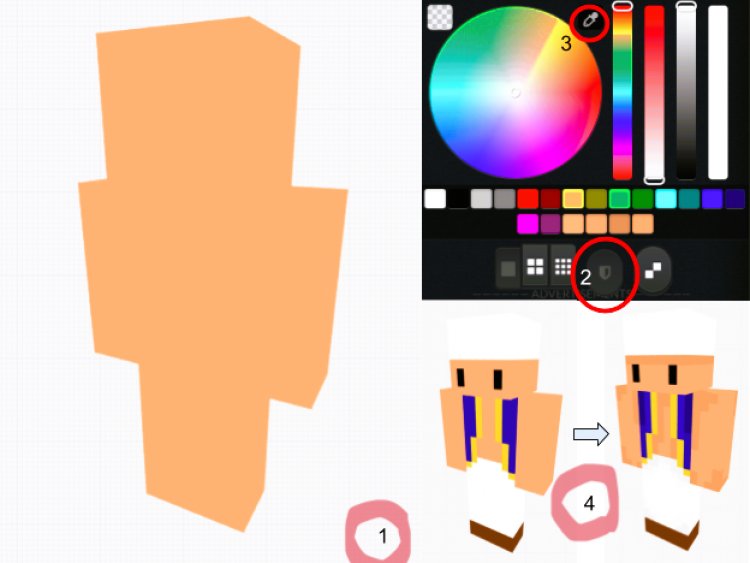
I need to plan the underskin first, so I switch off the shield in the perceivability settings.
I track down that while making another skin, picking a base variety initially is significant. Utilize the fill instrument to rapidly apply the base tone. Select the variety you need to use on the variety wheel with the eyedropper instrument and you can likewise change the shade and power of varieties with the sliders. I began with a tan tone.
Presently, center around harsh specifying to make highlights like eyes and garments. Mess with the variety sliders until you get a variety that fulfills your necessities.
Because of Frog's balanced plan, I can utilize the mirror apparatus in the variety wheel. It makes any drawing show up on the two sides of the body when cut up upward
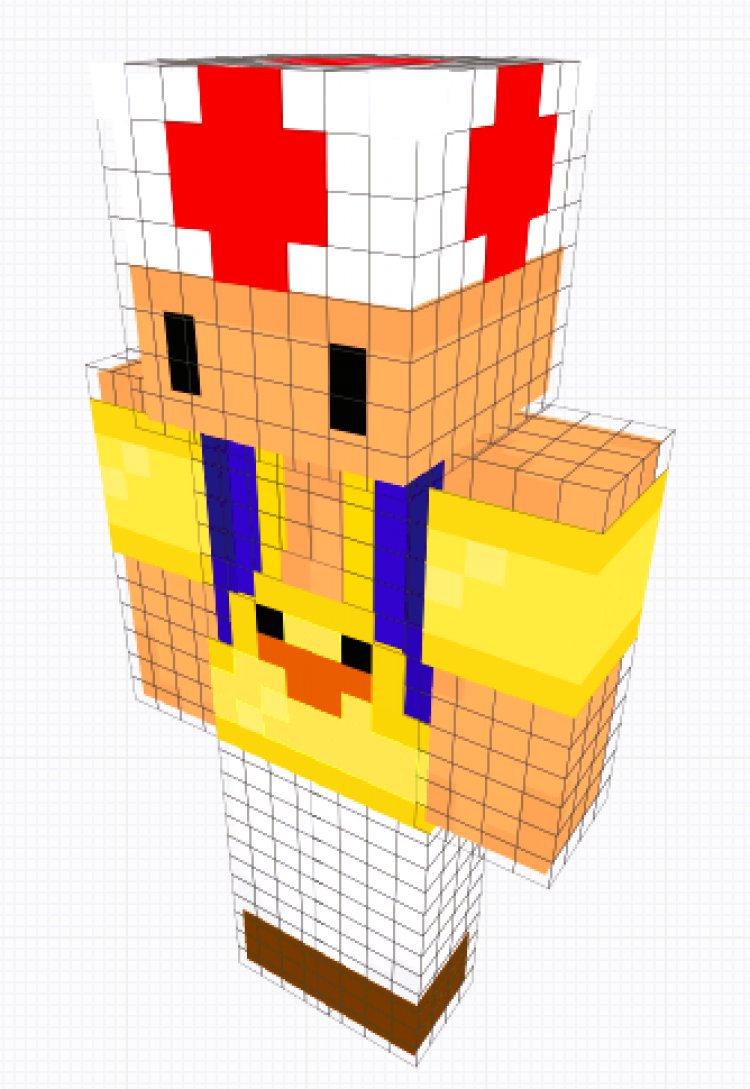
After culmination of the enormous regions, you can begin to add more modest subtleties. As may be obvious, my somewhat strong hued Frog has acquired concealing, making him look more practical.
Tip: Using a Google Images picture of what you’re designing is a useful reference point when you’re copying a character or an article of clothing.
Covering layer
To start the covering layer, betray in the perceivability settings. The reinforcement layer will show up over the skin layer, however you can eliminate it from the in-game Minecraft settings. You can add any elements you might require utilizing similar strategies you applied to the skin. In my model, I added a couple of subtleties to the protection layer, like the red spots on the head and an expelled tummy.

Making a Skin from Premade Parts
Is it true or not that you are not exactly happy with the manner in which some part of your skin ends up? Maybe you are searching for more detail. The Excavators Need Cool Shoes People group has an enormous stock of skin parts you can integrate.
A segment of their import menu is devoted to looking for parts you will be unable to plan yourself. This implies you can sort out a show-stopper with assistance from peers locally! For instance, suppose Frog needs to take a plunge On the planet 4 seas. We can look into "floaties" in the part search and, as though it were sorcery, Frog is ready for a great day at the ocean side.
Applying Minecraft Skins
There are two principal ways of sending out and apply a skin to your in-game person.
To keep your skin hidden, click the "Download to PC" button.
Fire up the Minecraft launcher and snap the "Skins" button.
You will see a menu that permits you to change the skin from documents on your PC.
From your PC's document pioneer, select the .png record for your recently made skin. You can do this on Minecraft.net also.

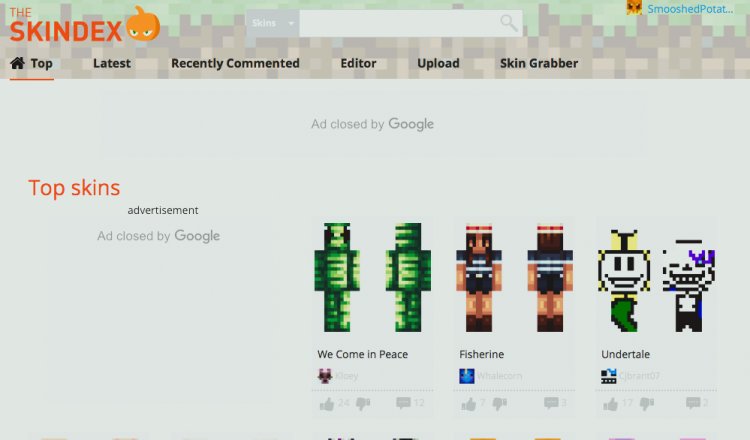
If you have any desire to share your skin, or don't care either way if it's public, you can transfer it to The Skindex, an enormous, public store of skins.
Essentially adhere to The Skindex's directions to make a record.
Click the "Transfer" button on the top bar and fill in the portrayal boxes.
Press transfer and you're all around great to go! You can prepare the skin utilizing the transfer to Minecraft button.
Skins from The Skindex might several minutes to apply in-game. In the event that your new skin isn't working, have a go at relogging.
End
I really want to believe that you delighted in perusing this how-to direct however much I appreciated composing it! You can wear your new skin with satisfaction realizing that you made it. Much obliged to you.