How to add custom servers on minecraft xbox one
In this post I'm going to show you how you can add custom servers on minecraft xbox one in just few simple steps.
 Lyron77
How to add custom servers on Minecraft Xbox One
Xbox DNS Method:
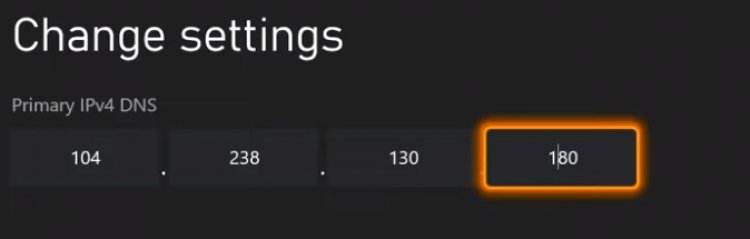
First close your minecraft. Go to your Xbox one settings. Click on network settings > advanced settings > DNS settings. Click on manual and type these numbers
Primary DNS 104 238 130 180.
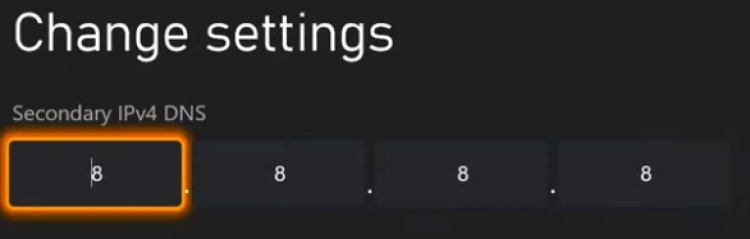
Secondary DNS 8 8 8 8.
After putting those numbers in launch minecraft now.
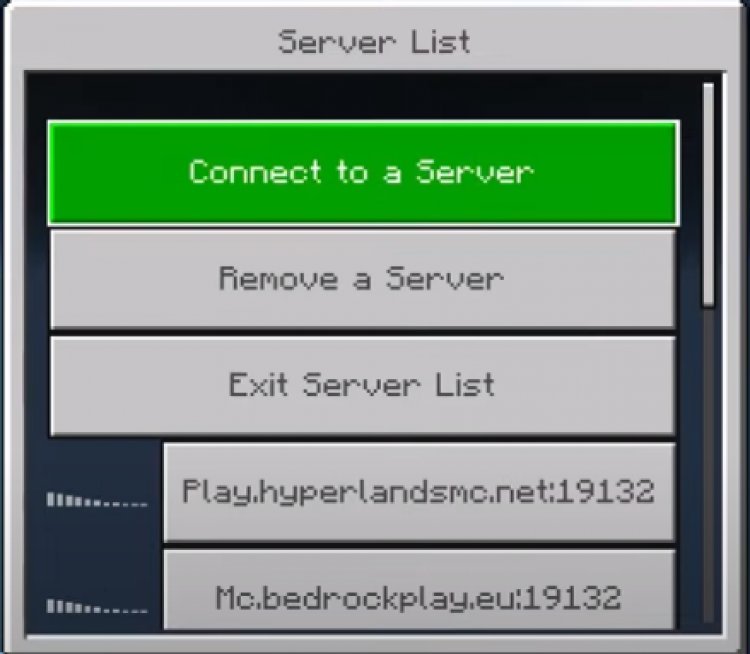
Now click on Play and click on the Servers tab. Join any server and it will give you option to add a server.


Android method:
Note: If you want to do android and ios method, go back to DNS settings and click on automatic.
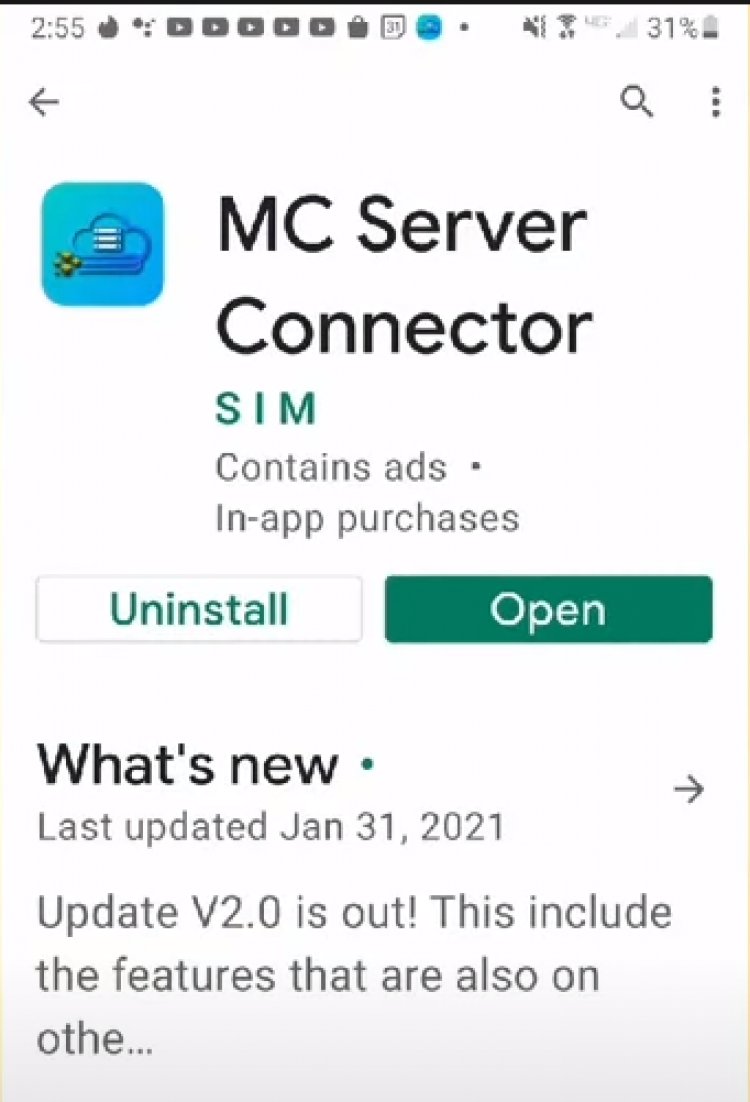
Now get on your android device. Download MC Server Connector from the google play store. Click on servers and click the server you want to play.You also have the ability to put in any server IP you found onlie that works with Minecraft Bedrock edition. Once you have choosed the server, click on Play on this server. It will start working.


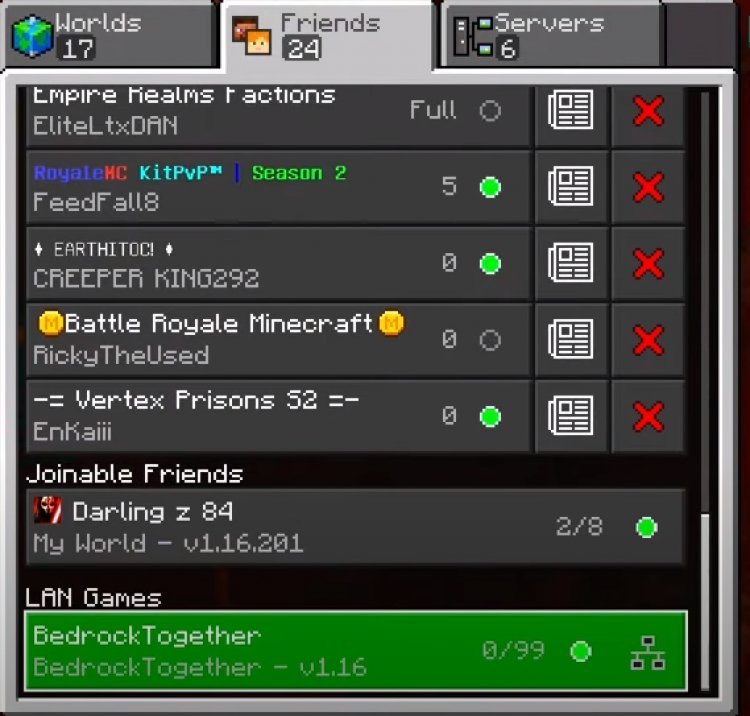
Launch minectaft and click on play > click on the friends tab and scroll all the way down to LAN games and click on the server.

IOS Method:
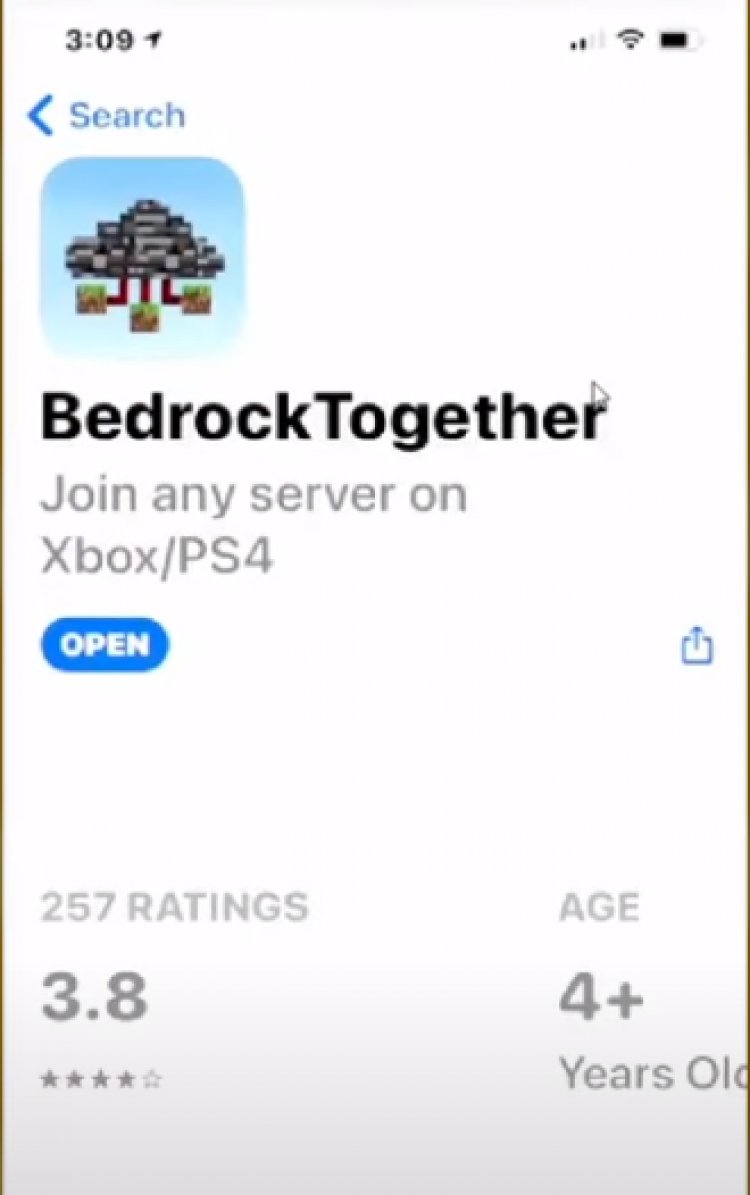
Open te app store and download Bedrock Together. Open the application and click on partnered server. Click on run to start the server. You alo have the ability to put any Server IP you find online for Minecraft Bedrock ediion servers,

Now get back on your Xbox One. Click on play > go to the friends tab and scroll al the way down to LAN games. Click on bedrock together.
Feel free to ask any questions down below!